
The appearance of the semi-permanent varnish allows us to maintain the nail art for more than 3 weeks. But, do you know how to install your semi-permanent at home? Keep reading!
Step 1: clean nail base
Take the time to apply your base and your varnish. Normally, with semi-permanent varnish, you have to apply very thin layers of varnish.
Step 2: Apply base and varnish
With each coat of varnish, care must be taken not to apply the varnish on the sides. Otherwise, it leaves an “opening” for the polish to peel off. When you overflow, you should rectify with a bevelled wooden stick.
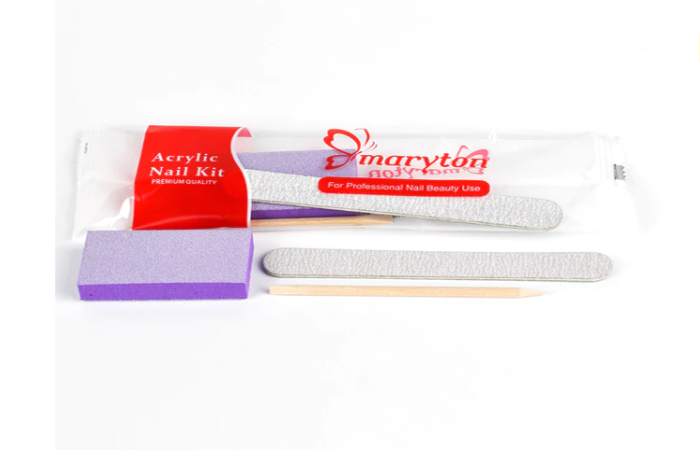
300 PCS $34.50
Step 3: The top coat
The last step is apply the top coat. As with the previous steps, taking care not to overflow. Please note: some top coats have a “sticky” finish after catalysis. It will therefore be necessary to pass a small blow of solvent on a cotton to remove this effect.
We hope you liked this article and that it will inspire you for future. In addition to these, I advise you to invest in a complete manicure set! To help you in your choice, I invite you to visit our website.
Read also: DOES SEMI-PERMANENT VARNISH DAMAGE THE NAILS?
Source: